{"209":{"title":"Six Nations","uri":"six-nations","id":"108","oid":"209","order":0,"hasData":1},"210":{"title":"Rugby World Cup","uri":"rugby-world-cup","id":"111","oid":"210","order":1,"hasData":1},"3":{"title":"International","uri":"internationals","id":"107","oid":"3","order":3,"hasData":1},"201":{"title":"Gallagher Premiership","uri":"premiership","id":"101","oid":"201","order":4,"hasData":1},"204":{"title":"United Rugby Championship","uri":"united-rugby-championship","id":"138","oid":"204","order":5,"hasData":1},"203":{"title":"TOP 14","uri":"top-14","id":"102","oid":"203","order":6,"hasData":1},"217":{"title":"U20 Six Nations","uri":"u20-six-nations","id":"217","oid":"217","order":7,"hasData":1},"211":{"title":"Pro D2","uri":"pro-d2","id":"119","oid":"211","order":8,"hasData":1},"208":{"title":"Bunnings NPC","uri":"bunnings-npc","id":"105","oid":"208","order":9,"hasData":1},"242":{"title":"Investec Champions Cup","uri":"european-champions-cup","id":"110","oid":"242","order":10,"hasData":1},"243":{"title":"Challenge Cup","uri":"challenge-cup","id":"118","oid":"243","order":11,"hasData":1},"340":{"title":"PWR","uri":"premiership-womens-rugby","id":"127","oid":"340","order":12,"hasData":1},"205":{"title":"Super Rugby Pacific","uri":"super-rugby","id":"104","oid":"205","order":13,"hasData":1},"207":{"title":"Currie Cup","uri":"currie-cup","id":"106","oid":"207","order":14,"hasData":1},"248":{"title":"Women's Six Nations","uri":"womens-six-nations","id":"125","oid":"248","order":16,"hasData":1},"274":{"title":"Women's Internationals","uri":"womens-internationals","id":"274","oid":"274","order":17,"hasData":1},"249":{"title":"Women's Rugby World Cup","uri":"womens-rugby-world-cup","id":"126","oid":"249","order":18,"hasData":1},"365":{"title":"Autumn Nations Series","uri":"autumn-nations-series","id":"124","oid":"365","order":19,"hasData":1},"2000":{"title":"Nations Championship","uri":"nations-championship","id":"2000","oid":"2000","order":20,"hasData":1},"1":{"title":"Rugby Hybrid Friendlies","uri":"rugby-hybrid-friendlies","id":"1","oid":"1","order":21,"hasData":1},"269":{"title":"Rugby Europe Championship","uri":"rugby-europe-championship","id":"269","oid":"269","order":22,"hasData":1},"221":{"title":"British & Irish Lions 2025","uri":"british-irish-lions","id":"113","oid":"221","order":23,"hasData":1},"214":{"title":"The Rugby Championship","uri":"the-rugby-championship","id":"109","oid":"214","order":24,"hasData":1},"141":{"title":"Super Rugby Pacific","uri":"super-rugby-pacific","id":"141","oid":"141","order":25,"hasData":1},"216":{"title":"World Rugby Junior World Championship","uri":"world-rugby-u20-championship","id":"216","oid":"216","order":25,"hasData":1},"219":{"title":"Pacific Nations Cup","uri":"pacific-nations-cup","id":"219","oid":"219","order":26,"hasData":1},"120":{"title":"Pacific Four Series","uri":"pacific-four-series","id":"120","oid":"120","order":27,"hasData":1},"862":{"title":"WXV 1","uri":"wxv-1","id":"862","oid":"862","order":29,"hasData":1},"863":{"title":"WXV 2","uri":"wxv-2","id":"863","oid":"863","order":30,"hasData":1},"864":{"title":"WXV 3","uri":"wxv-3","id":"864","oid":"864","order":31,"hasData":1},"151":{"title":"Major League Rugby","uri":"major-league-rugby","id":"131","oid":"151","order":32,"hasData":1},"116":{"title":"Premiership Cup","uri":"premiership-cup","id":"116","oid":"116","order":34,"hasData":1}}

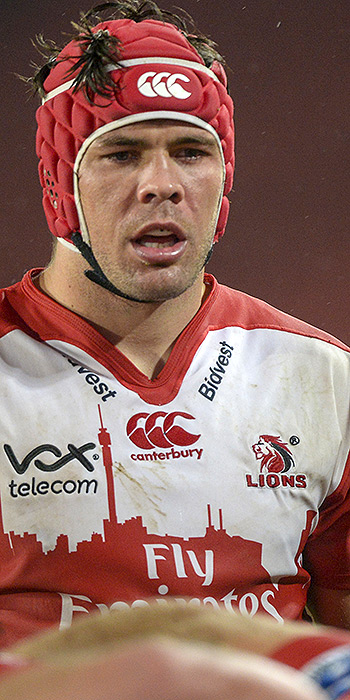
Lions have the perfect No.10

While he is not the only candidate for the Springbok flyhalf position – and some pundits will have you believe he is certainly not the leading competitor – the 25-year-old twice-capped Bok is making sure he remains in contention.

ADVERTISEMENT

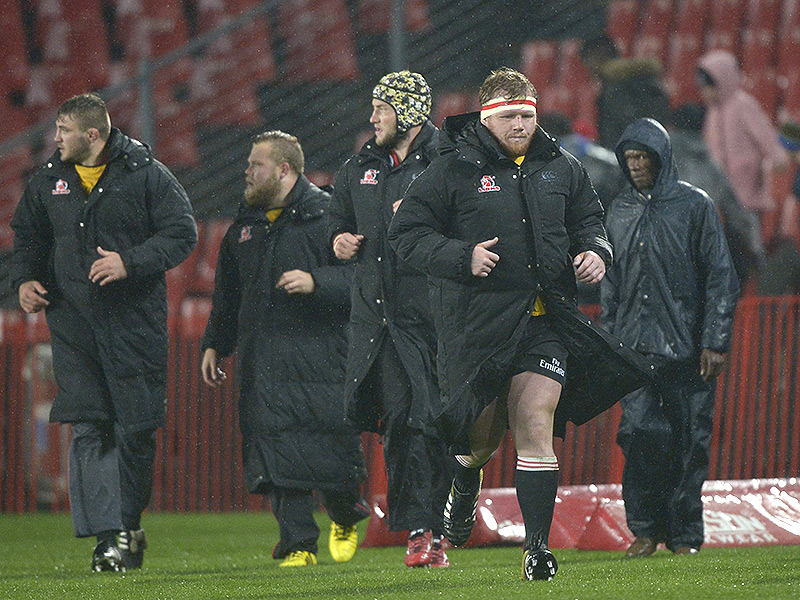
Jantjies' display in the Lions' 43-5 demolition of the Blues in monsoon-like conditions at Ellis Park at the weekend, showed just how versatile he can be.

While he will continue to have his detractors, Lions coach Johan Ackermann believes Jantjies – and scrumhalf Ross Cronje – were at the heart of the Lions' demolition of the New Zealand outfit at the weekend.

Tactically astute, Jantjies played a key role in a number of the Lions' seven tries – two of those created with a sublime cross-field kick and a deft little chip.Lions have the perfect No.10

Ackermann said the halfbacks' tactical acumen was key to the Africa Conference leaders' dominant performance in the testing conditions.

"We knew it [decision-making] was going to be part of the game in those conditions," Ackermann said in his post-match analysis.

"Ross [Cronje] and Elton [Jantjies] got the balance between when to kick and when to run spot on," he added.

ADVERTISEMENT

A whirlwind start – in which they took a 19-0 lead inside the first 11 minutes – set up the Lions up the big win.

Humiliated at home by the Hurricanes in their previous match, the South Africans took out their frustrations on another New Zealand team.

A further two tries early in the second half stretched the gap to 31 points and long before the end the only undecided issue was how wide a winning margin the Lions would achieve.

"I am very proud of our performance," said Lions skipper and No.8 Warren Whiteley.

ADVERTISEMENT

"We were hurting after conceding 50 points against the Hurricanes.

"We spoke openly among ourselves after that devastating loss and vowed to get back on the winning trail against the Blues.

"It was a wonderful all-round showing with the backs and forwards combining brilliantly.

"While Lionel Mapoe was a worthy man of the match after scoring three tries, all 15 starters and the eight players who came off the bench deserve credit."

@rugby365com

Lions have the perfect No.10

Join free

England v New Zealand | WXV Global Series 2026 | Match Highlights

Italy v South Africa | WXV Global Series 2026 | Match Highlights

Ireland v Japan | WXV Global Series 2026 | Match Highlights

Wales v USA | WXV Global Series 2026 | Match Highlights

France v Canada | WXV Global Series 2026 | Match Highlights

Scotland v Australia | WXV Global Series 2026 | Match Highlights

Fiji vs Japan | Pacific Nations Cup 2026 | Final | Match Highlights

Japan v USA | Pacific Nations Cup 2026 | Match Highlights

Write A Comment